Getting Started
This guide gets you up and running quickly with TinyBase.
It is not intended to be a detailed introduction to installing JavaScript build- and run-time environments! It assumes that you have (or know how to have) a browser or Node-based development environment.
Note that TinyBase requires a reasonably modern environment, as it makes extensive use of contemporary JavaScript features. A regularly-updated browser and Node 16 (or above) are recommended. If you find you need older compatibility, there are additional transpilations in the es6 folder of the distribution.
Let's go!
TinyBase from a template
Vite is a build tool that makes it easy to get started with modern web projects based on application templates. To use the TinyBase template, firstly make a copy of it:
npx tiged tinyplex/vite-tinybase my-tinybase-app
Then go into the directory, install the dependencies, and run the application:
cd my-tinybase-app
npm install
npm run dev
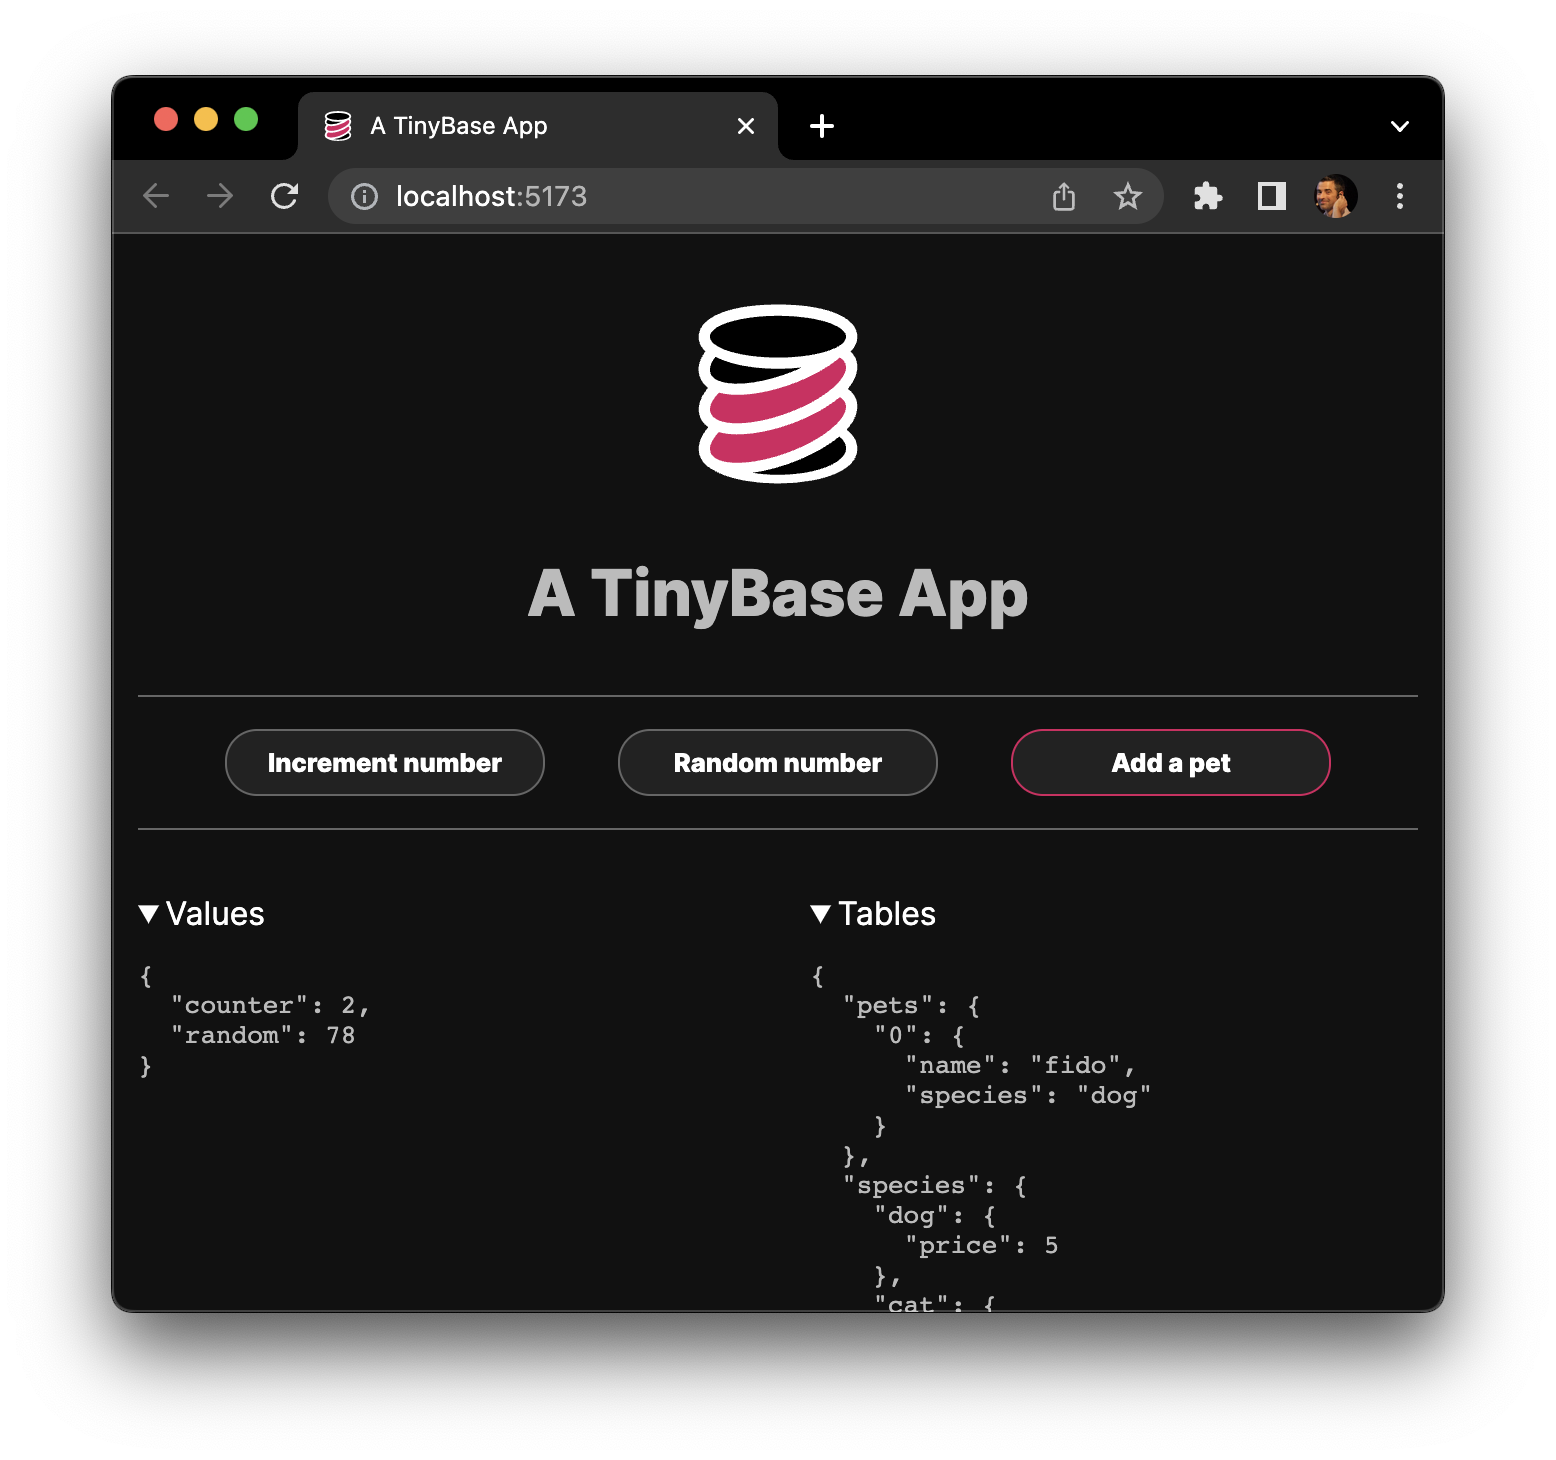
The final step will display a local URL, which should serve up a basic TinyBase application for you:

In fact, there are ten templates for TinyBase, depending on whether you want to use TypeScript or React, and the integrations you want to target. Instructions are available in the README of each:
| Template | Language | React | Plus |
|---|---|---|---|
| vite-tinybase | JavaScript | No | |
| vite-tinybase-ts | TypeScript | No | |
| vite-tinybase-react | JavaScript | Yes | |
| vite-tinybase-ts-react | TypeScript | Yes | |
| vite-tinybase-ts-react-sync | TypeScript | Yes | Synchronization |
| vite-tinybase-ts-react-pglite | TypeScript | Yes | PGlite |
| vite-tinybase-ts-react-crsqlite | TypeScript | Yes | CR-SQLite |
| tinybase-ts-react-partykit | TypeScript | Yes | PartyKit |
| tinybase-ts-react-electricsql | TypeScript | Yes | ElectricSQL |
| expo/examples/with-tinybase | JavaScript | Yes | React Native & Expo |
TinyBase in a browser
Another simple way to get started with TinyBase is to include it as a minified UMD script from a CDN in a web page. Create a file called index.html, for example:
<html>
  <head>
    <title>My First TinyBase App</title>
    <script src="https://unpkg.com/tinybase/umd/min/index.js"></script>
    <script>
      addEventListener('load', () => {
        const {createStore} = TinyBase;

        const store = createStore();
        store.setValue('v1', 'Hello');
        store.setCell('t1', 'r1', 'c1', 'World');

        document.body.innerHTML =
          store.getValue('v1') + ' ' + store.getCell('t1', 'r1', 'c1');
      });
    </script>
  </head>
  <body />
</html>
Open this file in your browser and you should see the words 'Hello World' on the screen, each having been written to, and read from, a Store.
Note that the UMD script is pulled from NPM by the unpkg service. The script provides a global object from which you can destructure the top-level functions of the API.
TinyBase in a Node application
TinyBase is packaged on NPM, so you can easily install it as a dependency for your application.
mkdir MyFirstTinyBaseApp
cd MyFirstTinyBaseApp
npm init -y
npm install tinybase
Create a file in this directory called index.mjs:
import {createStore} from 'tinybase';
const store = createStore();
store.setValue('v1', 'Hello');
store.setCell('t1', 'r1', 'c1', 'World');
console.log(store.getValue('v1') + ' ' + store.getCell('t1', 'r1', 'c1'));
Run this module script with:
node index.mjs
Again, you will see the words 'Hello World' on the screen, having each been written to, and read from, a Store.
If that all worked, you are set up and ready to learn more about TinyBase! From here on, we will mostly show Node-based code snippets, but most should be easily translatable to run in a browser too.
Before we move on, you should be aware that the overall package includes a number of different versions of TinyBase, transpiled for different targets and formats. You may want to take a look at the Importing TinyBase guide if the code above isn't working in your environment - React Native in particular.
Let's move onto the Creating A Store guide.